
Let us help you with the floor preparation and sanding process. If your timber floor is looking worn and your are considering giving them a face-lift ‘DIY style’, then you have come to the right place! We are more than happy to give you a helping hand and explain how to handle the floor sanding machines that the professionals use. Are you ready? Let’s get started!
Floor Preparation –
The first thing you will need to do before the floor preparation and sanding process begins is to remove all furniture out of the area. You will also want to relocate picture frames and other wall hangings that may be knocked in the process.
If you have had carpet or masonite covering your floor then your next step will be to remove any staples and tacs that were holding them in place.
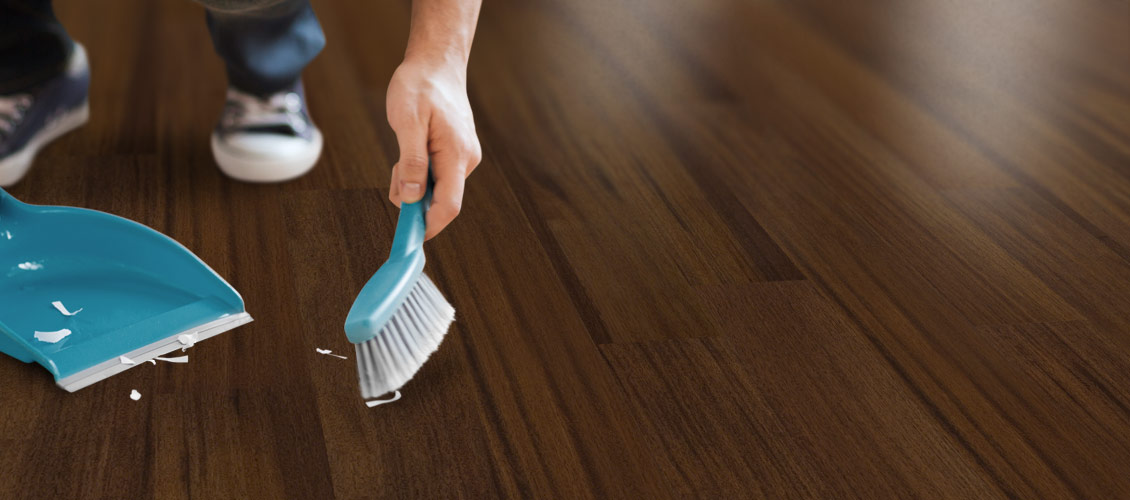
Once this step is completed and to finish off the floor preparation, you will need to sweep or vacuum the floor to ensure any removed staples don’t get caught under your sanding machine during the sanding process.
If the floor is nailed down to the joists then you will need to complete one final step. When you rent your DIY machine, ensure that they also provide you with a nail punch. You will need to punch down the exposed heads of the nails 5mm deep. This step in the floor preparation will help to fasten loosened boards as well as provide a better environment for floor sanding.
Cross Sanding –
Now that you have finished the floor preparation, you can start the sanding process.
Your first goal is to achieve a even flatness on all of the floorboards, this is especially necessary on floorboards that have not been previously sanded. To level your floor you will need to sand across the grain of the floorboards.
Here’s how you do it:
Please follow the following preparation steps for your floor sanding machine. Use 40 grit sand paper and begin the sand at a 45 degree diagonal across the grain of your floorboards. The course grit paper will level your floor and remove any dents and scratches.
Rough grit sanding tends to be the most difficult part of the process for DIY enthusiasts. The reason is that the sand paper is designed sand only wood, not glue, paint, varnish or oils. The effectiveness of the sand paper can be compromised when it comes into contact with those materials. The substances tend to heat up during the floor sanding process and stick to the paper. If you notice a change in the amount of material being lifted off the floor by the sander then it’s time to change the sand paper.
*Tip: When using the floor sanding machine, the key is to release the lever and as you step forward/backward to lower the machine gently onto the floor. This will prevent ‘dig in’ marks caused by dropping the machine too suddenly. It is also extremely important to never allow the machine to sit stationary in one spot while the drum is lowered. This will cause an uneven surface that will be very noticeable afterwards. If you get stuck or need some advice, get in touch with our Brisbane floor sanders.
Rough Edging –
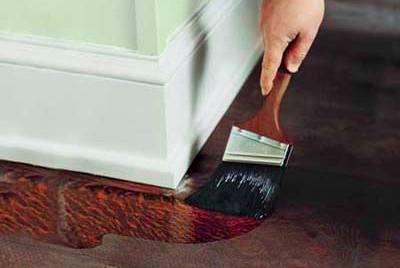
The next step of the floor preparation and sanding process is to start rough edging. For this you will need the 6/7 inch handheld disc sander. For DIY projects you can rent these floor sanding machines along with the belt sander. This machine is necessary to reach areas where the belt sander is unable to reach. The framing of the belt sander does not allow it to come right up to the skirting boards and kitchen kick boards.
During the rough edging process, you will be using 80 grit sand paper which is a higher grit than you used on the belt sanded for cross sanding. If the floor is uneven then your goal is to flatten it and ensure the previous coat or any materials on the floor are removed. However if the boards are flat then just remove the previous coat and any scratches or imperfections on the floor and continue to the next section. Avoid sanding too much off the timber.
The rough edging should leave only the very corners of the room un-sanded. You can clean these with a scraper.
*Tip: As with the belt sander, when using the edging machine, the key is to lower the sander to the floor while you do not leave it sitting in one place. The movement will be forward/backwards to remove the material and imperfects and then side to side along the grain to even the floor.
Now that the rough sanding process is completed, you should be able to see a flat and clean floor, with a rough timber finish.
For the remainder of the floor preparation and sanding process please see the article “Floor Sanding 101 – Part II”.